
The sun is shining, the frost has melted, summer is here—but you still have the winter blues. The solution? Bring the rays inside with a self-made glow thanks to an easy-to-follow tanning routine. This step-by-step guide will take you from blah to bronze in no time, with no burn in sight.
Sun Responsibly
We know how tempting it can be to step outside on the first bright day and soak up those rays, but too much tanning can lead to early signs of aging, dry skin, sun burns, peeling…or worse. Focusing on sunless tanning gives you that glow without the worry, so you can lather up the SPF at the beach and feel safe and sun kissed.
The Power of Pineapple
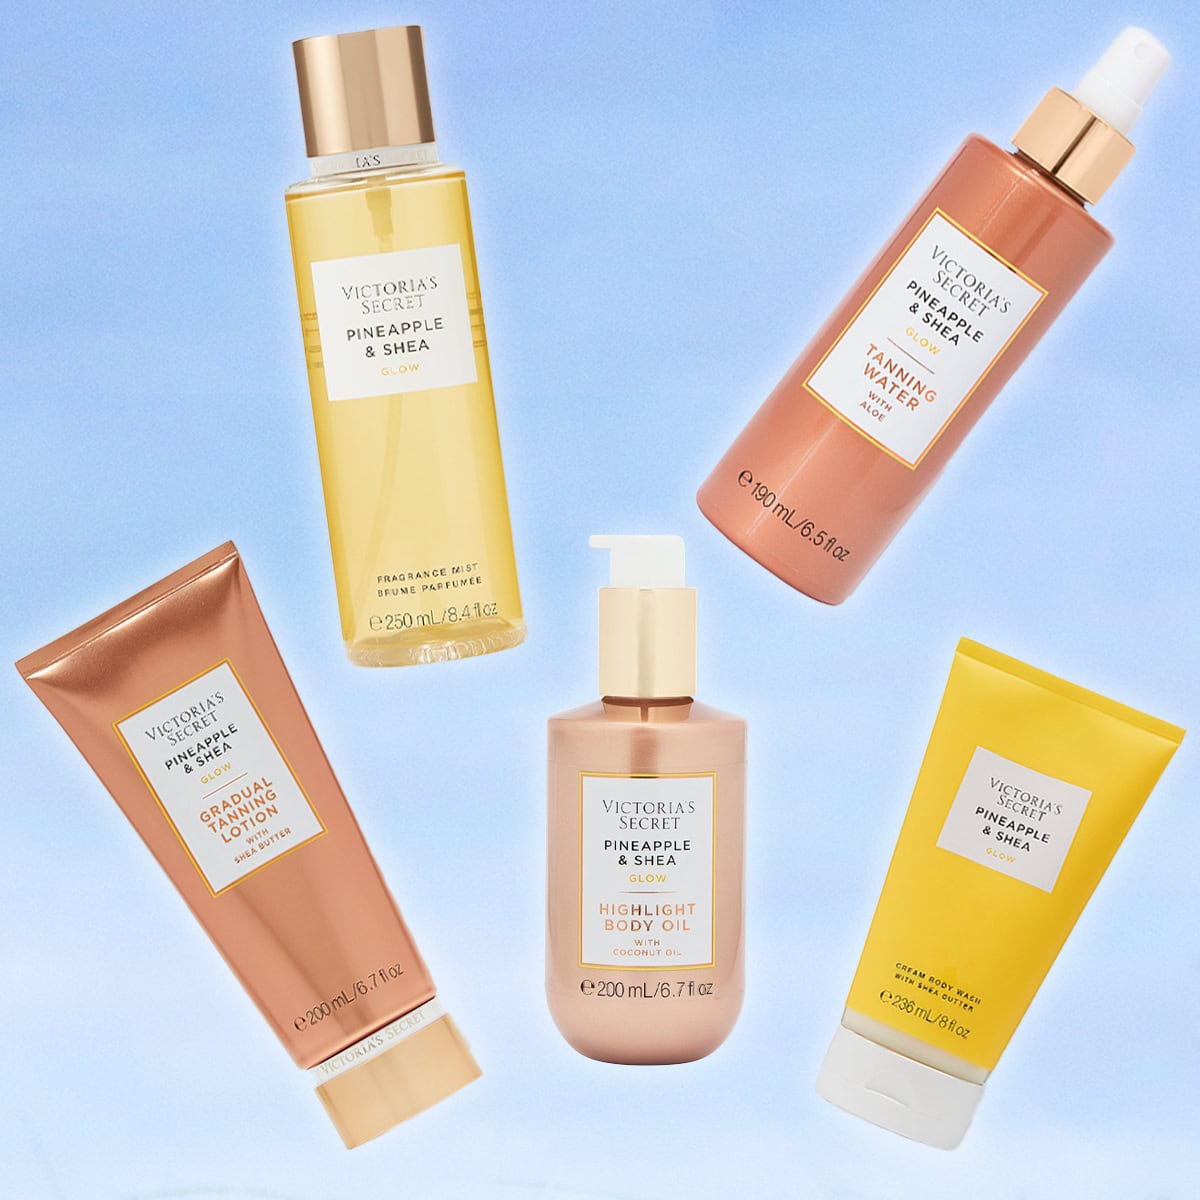
Meet Pineapple & Shea—the newest Natural Beauty body care and tanning collection from Victoria’s Secret. Not only does it smell totally delicious, but it is also one of the easiest ways to get glowing, fast. From the shower to the self-tan application, it is your one-stop shop this season for a total tan.
The Art of Self-Tanning
Step 1: Exfoliate
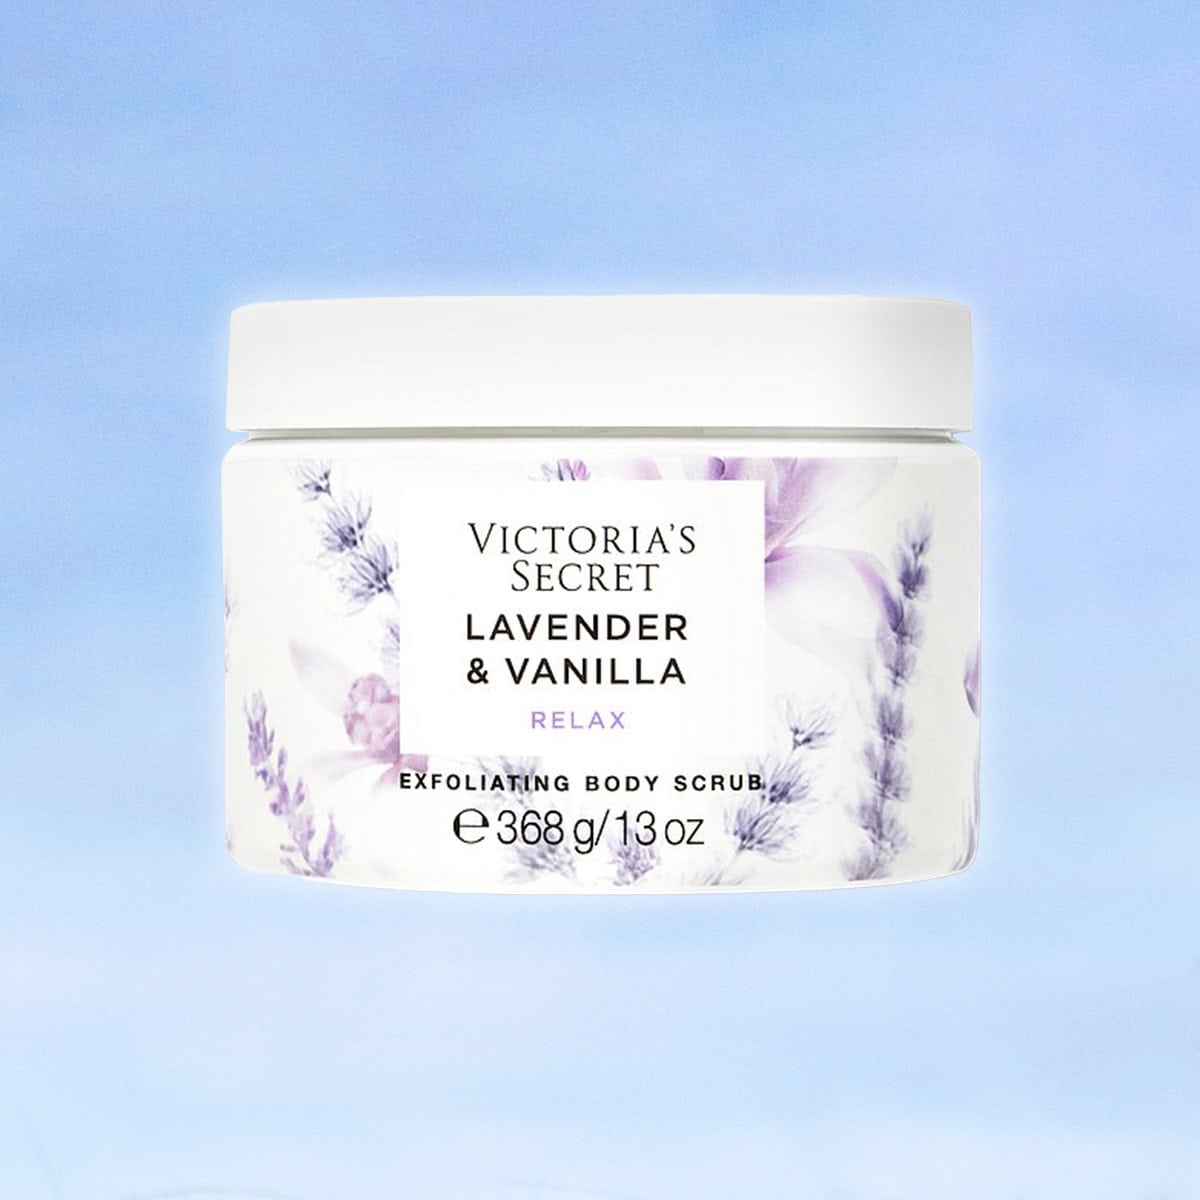
The perfect process starts in the shower. Clean with a body wash and follow up with an exfoliating scrub. Pay extra attention to dry zones on your body like your elbows, knees, ankles, wrists, and heels to ensure an even application when the time comes.
Step 2: Set Up Your Station
Post-shower, it’s time to set yourself up for tanning success. This means laying down a towel in your bathroom or a room you feel comfortable spraying yourself. The towel will help prevent any product from getting on the floor and leading to a possibly slippery situation.
Step 3: Moisturize Where Needed
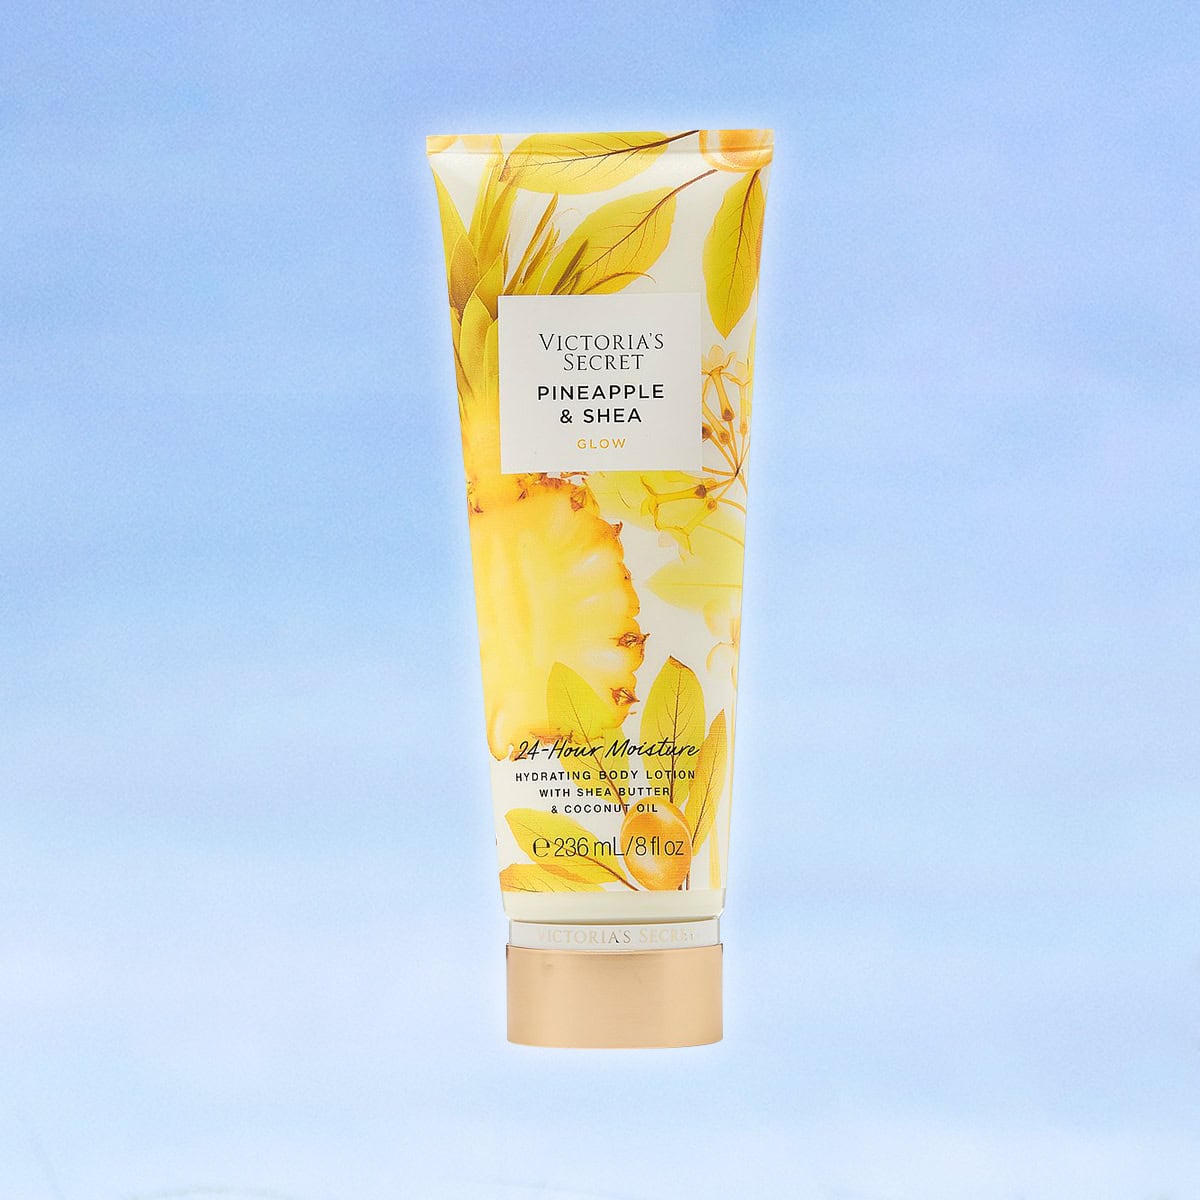
Remember those body parts you scrubbed extra well in the shower? Now it’s time to give them a little love. Lightly apply Pineapple & Shea Hydrating Body Lotion to your elbows, knees, ankles, wrists, and heels to keep them from over absorbing your tanning product.
Step 4: Start From the Bottom
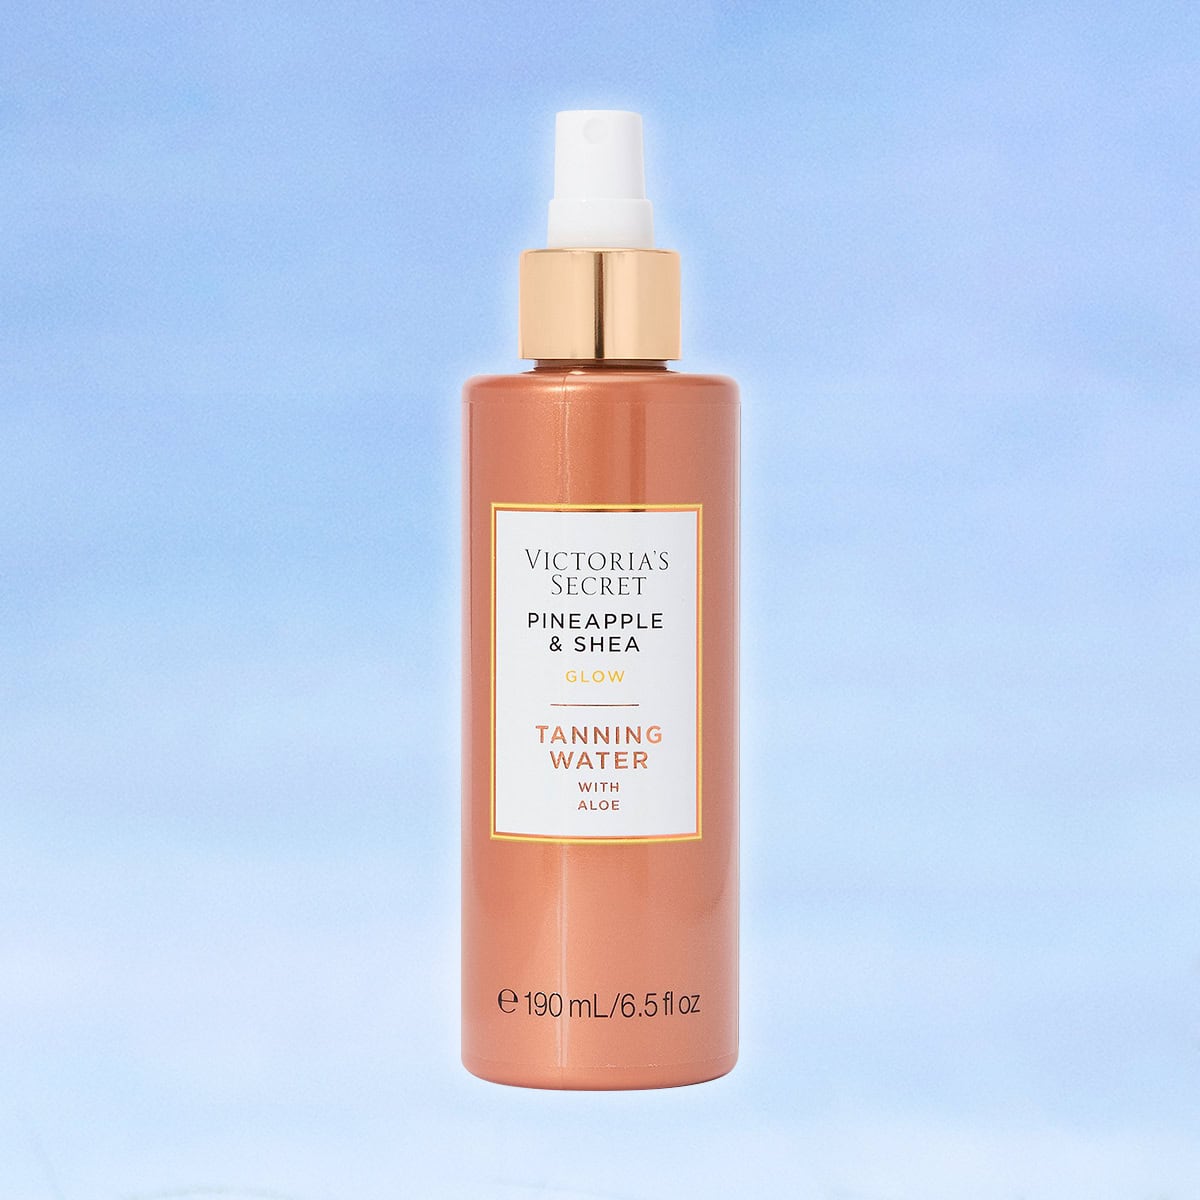
You’re all prepped and ready to start tanning. Using Pineapple & Shea Tanning Water, start spraying liberally on your legs first, blending as you go with your hands. Move on up to your hips, abdomen, chest, arms, and back. Last, gently feather excess product into your neck, hands, and feet. Make sure you blend with soft, sweeping motions for an even application.
Step 5: Take Time to Dry
This step is all about patience. Wash your hands (especially in between your fingers) and let your skin completely dry before getting dressed. You need to wait for the product to absorb to ensure it will work best.
Step 6: Maintain Your Tan
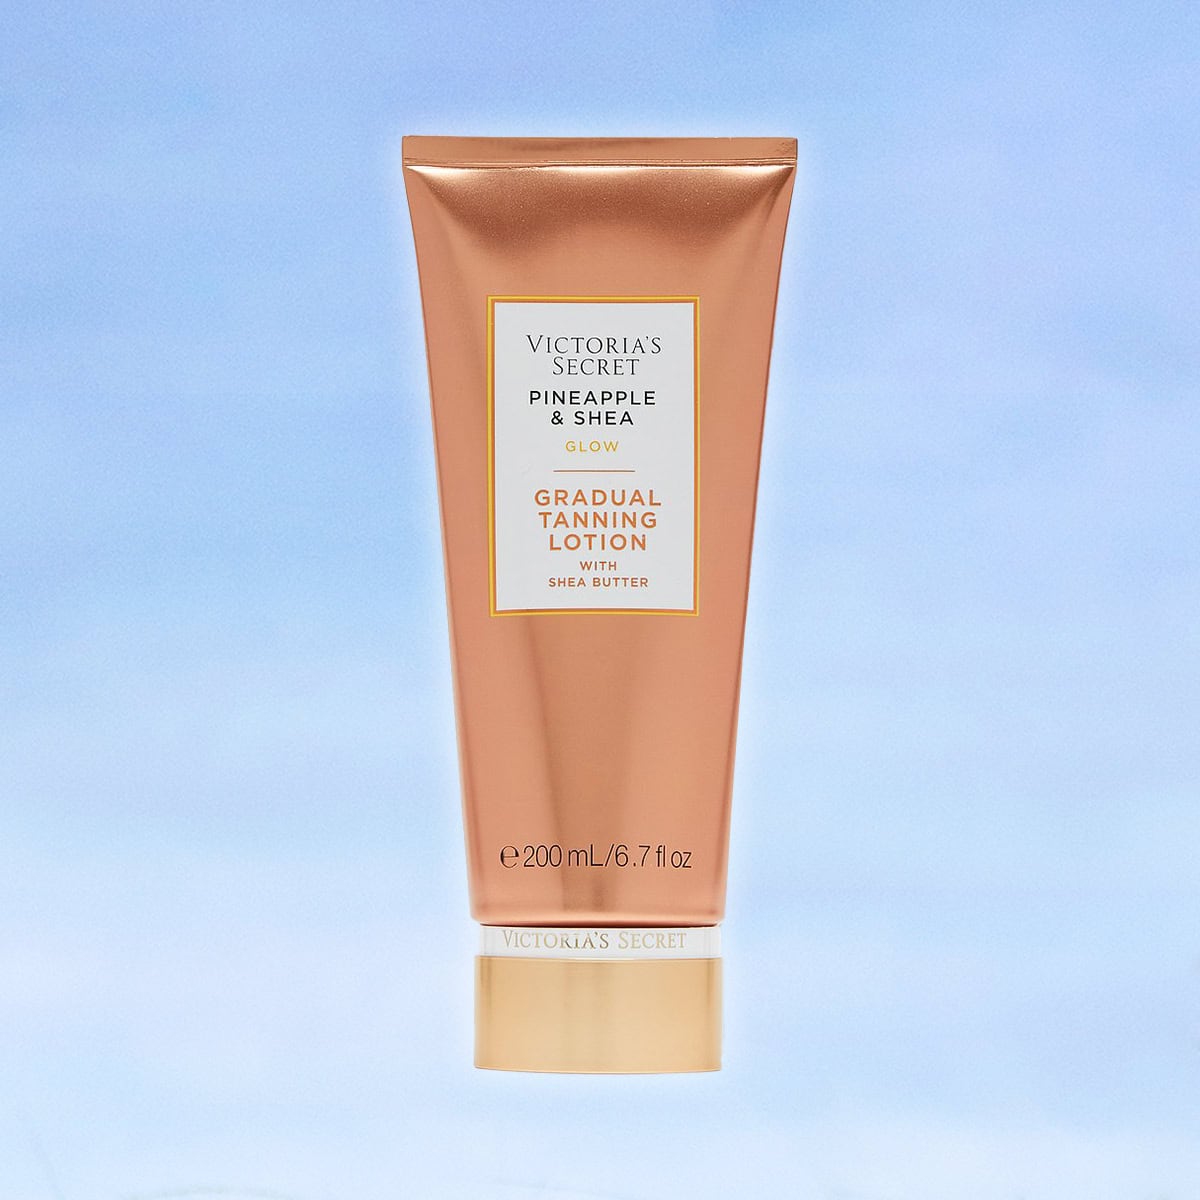
You can reapply Pineapple & Shea Tanning Water 24 hours after your first use if you haven’t reached your desired level of tan. Alternatively, you can switch to the Pineapple & Shea Gradual Tanning Lotion to both lightly hydrate and enhance and maintain your tan.
Step 7: Get A Daily Glow
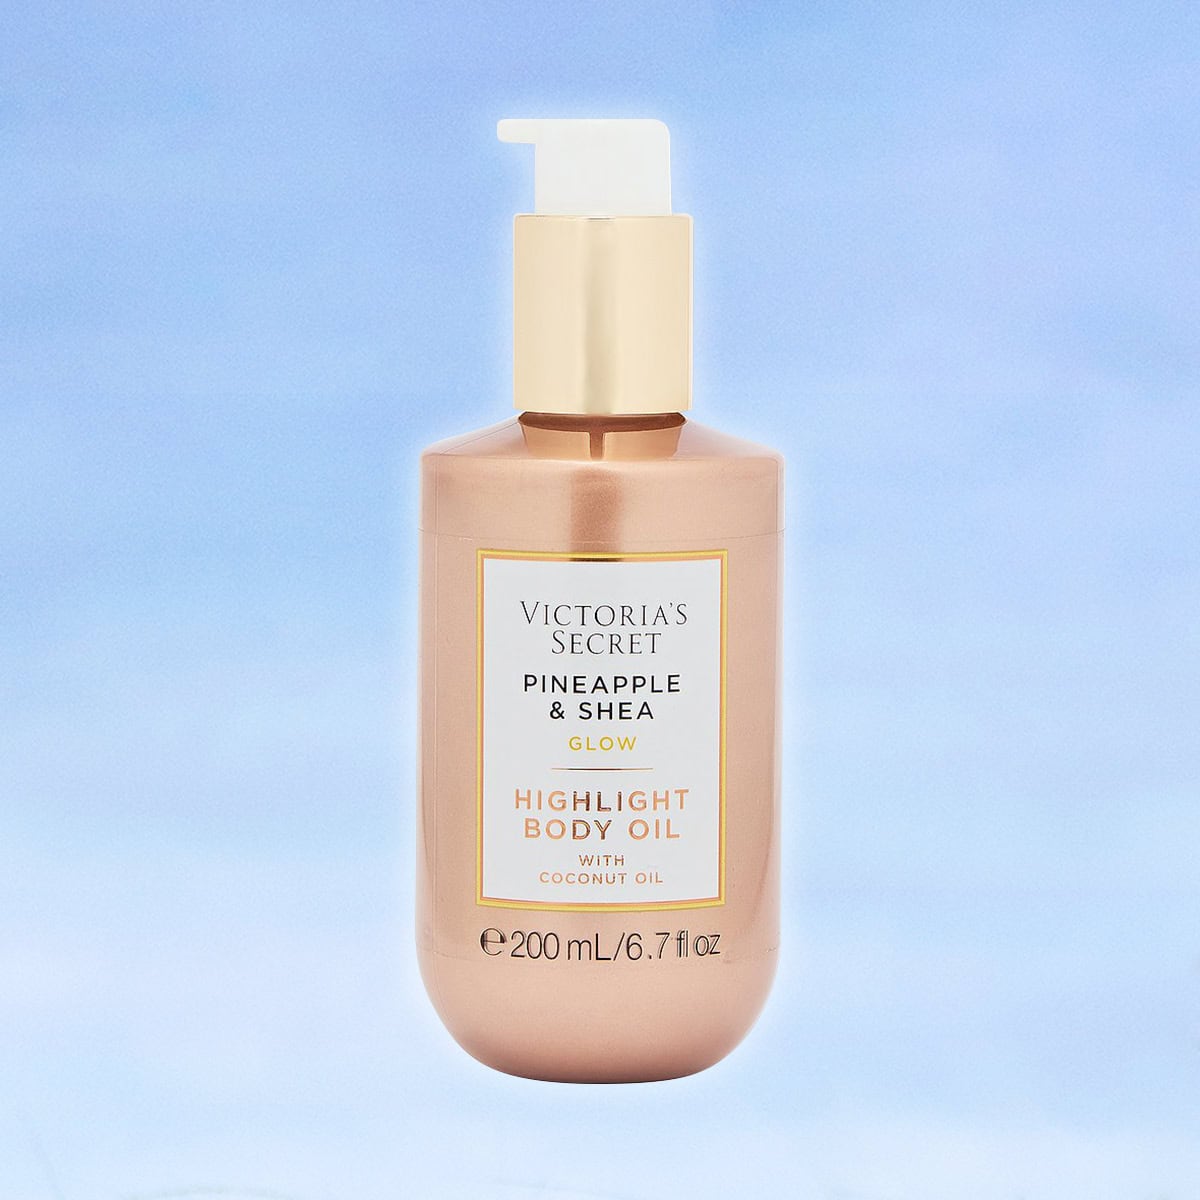
Now that you’re tan, hydrated, and totally glowing, keep the gleam going with a touch of Pineapple & Shea Highlight Oil on your legs, arms, chest, and anywhere else you want a gorgeous, bronzy sheen.
Tanning Troubleshooting
If you’re struggling to perfect your self-made suntan, here are a few tips to try:
- Phone a friend: If you have a few spots you can’t reach, ask a trusty bestie or partner to help apply.
- Really rub it in: Make sure when you’re spraying and applying, you spritz on a good amount before starting to rub—keep your hand flat and wide to spread the product evenly.
- Need a do-over? If your tan develops and you’re not liking the results, get back in the shower and re-exfoliate to blend and fade your tan faster.
Go Forth & Glow
Self-tanning can sound like an exhausting chore, but with these simple steps, you can turn it into a sensorial self-care ritual with some totally stunning end results.
